
The gap between amateur and professional creative work? It’s often just the tools. Professional-grade computer peripherals—including graphics tablets, color-calibrated monitors, and high-precision styluses—directly impact creative output quality, workflow efficiency, and the ability to meet industry standards for color accuracy and detail precision.
While consumer-grade equipment might be fine when you’re starting out, serious designers, illustrators, and digital artists hit walls pretty quickly. Those limitations can really cramp your creative vision and drag out projects.
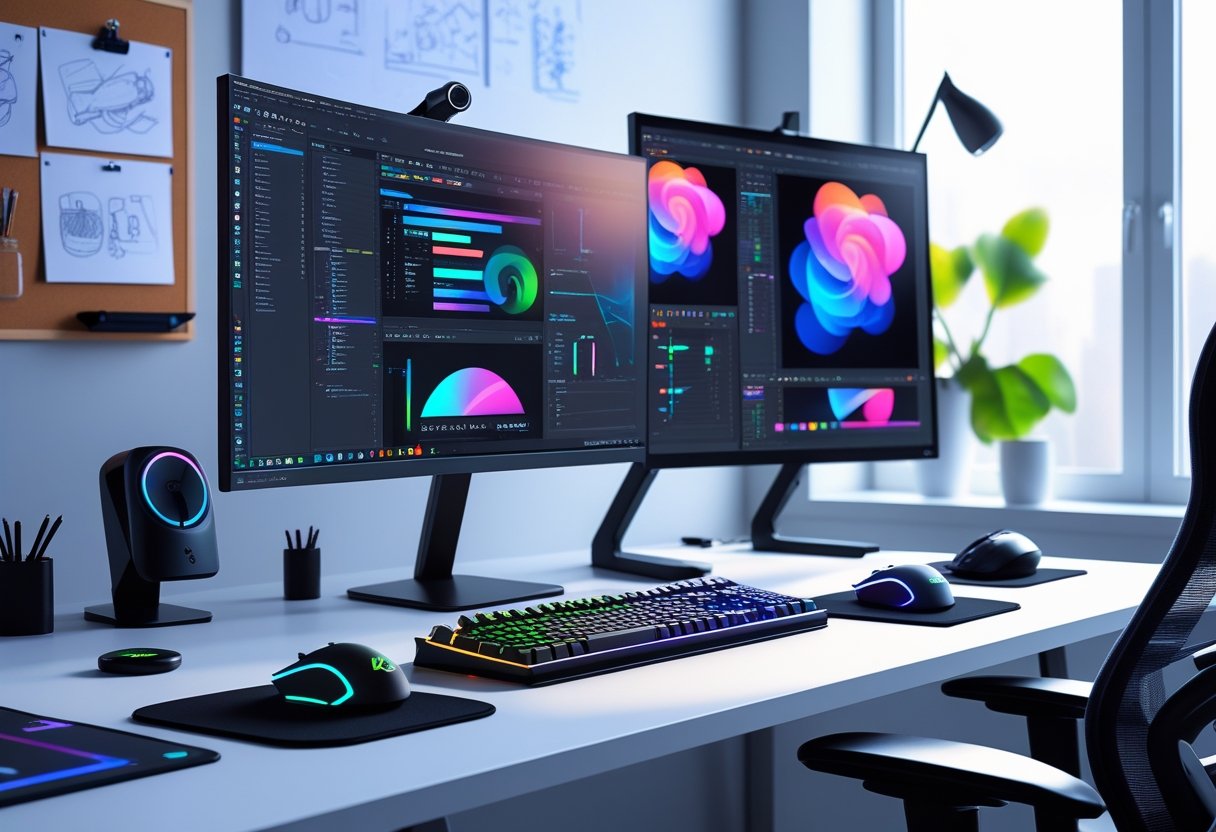
You’ll notice the difference in real-world scenarios. A designer using a standard monitor might send off files that look wildly different when printed or viewed elsewhere.
An illustrator with a basic stylus? They’re missing out on pressure sensitivity and tilt recognition that make brushwork feel natural. These technical gaps mean more revision rounds, unhappy clients, and, honestly, missed chances in a crowded market.
Key Takeaways
- Professional-grade peripherals directly improve creative output quality and workflow efficiency compared to consumer tools
- Color-calibrated monitors and high-precision styluses eliminate technical barriers that compromise design accuracy
- Strategic hardware investments deliver measurable productivity gains and competitive advantages in professional creative markets
The Importance of Professional-Grade Creative Peripherals
Professional-grade peripherals just change the game. They bring precision, responsiveness, and a kind of reliability you really can’t get from generic devices.
The difference isn’t just in feel—it’s workflow, output, and how much you end up spending over the long haul.
Consumer-Grade vs. Professional-Grade: Key Differences
Consumer-grade peripherals? They usually top out at 2,048 pressure points, while pro devices offer 8,192 or more. That’s a huge jump in control for brush strokes, line weight, and subtle opacity.
Professional drawing tablets use electromagnetic resonance, so the stylus doesn’t need batteries. You get accurate tilt and rotation sensing, too. Consumer devices? They’re mostly battery-powered and just don’t have the same nuanced touch.
Color accuracy is a big one. Pro monitors let you calibrate hardware and cover wider color gamuts, nailing Delta E values below 2 across Adobe RGB and DCI-P3. Consumer monitors? You’re lucky to get Delta E under 5, and you’re probably stuck in sRGB.
Build quality matters. Pro tools use tougher materials, replaceable parts, and pass stricter tests. They’ll last five years or more, easy. Consumer gear is built to hit price points, not longevity.
Workflow Efficiency and Artistic Vision
Professional peripherals let you move from idea to execution without fighting your gear. Creative pros with specialized input devices finish projects 40-60% faster than folks stuck on basic mice and keyboards.
Programmable buttons and custom interfaces mean you’re not constantly clicking through menus. Eight express keys on a graphics tablet? That’s instant access to your favorite tools, so you don’t lose your flow.
Latency under 20 milliseconds makes stylus movement feel natural. That’s crucial for detail work—portrait retouching, architecture, digital painting. Any lag is just annoying and kills accuracy.
Pro peripherals also open up new creative techniques. Multi-touch gestures, pressure-sensitive erasers, and simultaneous pen tilt all let you experiment, rather than fight limitations. When your hardware keeps up with your software, you can actually get a little lost in the creative process—in a good way.
Selecting the Right Graphics Tablets for Superior Design
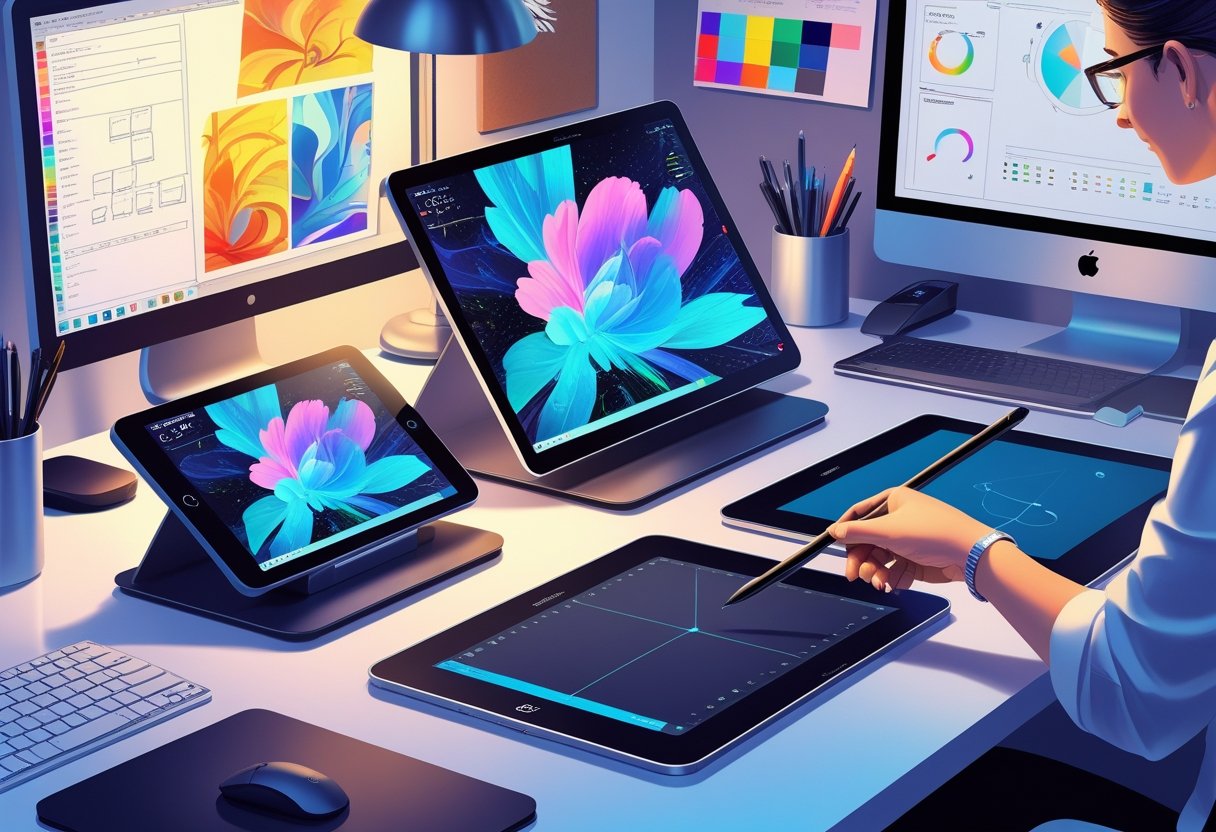
Graphics tablets are a game-changer. The pen input, pressure sensitivity, and natural feel just can’t be matched by a mouse.
Knowing the specs—pressure sensitivity, active area, parallax, lamination—helps you pick a tablet that fits your workflow.
Pressure Sensitivity and Resolution
Pressure sensitivity is about how many levels of force a stylus can detect. Most graphics tablets nowadays offer between 2,048 and 8,192 levels.
Honestly, the difference between 4,096 and 8,192 is pretty subtle for most people. What matters more is how smooth the pressure curve feels. The Huion Inspiroy H1060P gives you 8,192 at a good price, while the Huion H420X’s 2,048 levels are fine for general use.
Resolution is about how precisely the tablet tracks your pen. Higher LPI (lines per inch) means better accuracy. Pro tablets usually give you 5,080 LPI or more, so tiny movements and detail work come through without jitter.
Active Area and Display Quality
Active area is just the part of the tablet where your pen actually works. Screenless tablets range from small (6×4 inches, like the Huion Inspiroy H640P) to big (10×6 inches, Gaomon M10K).
Pen displays combine the active area with a screen. The XPPen Artist13.3 Pro has a 13.3-inch display; the Huion Kamvas Pro 16 bumps that to 15.6 inches. Bigger areas mean less hand cramping and more natural movement.
Display quality is key if you’re drawing on the screen. You want high Adobe RGB or sRGB coverage for color accuracy. The Huion Kamvas Pro series hits 120% sRGB, which is solid. And for resolution, 1920×1080 is the bare minimum for crisp detail.
Parallax and Full-Laminated Screens
Parallax is the gap between where your stylus touches and where the cursor shows up. It’s caused by space between the glass and the display.
Full-laminated screens bond the glass to the display layer, killing that gap. Wacom Cintiq started this, but now you’ll see it on Huion Kamvas Pro and XP-Pen Artist tablets too. Less parallax means better accuracy and a more paper-like feel.
Non-laminated screens have more offset, especially at the edges. If you’re on a tight budget, something like the Ugee M708 will work, but you’ll notice the difference if you get picky about precision.
Popular Graphics Tablet Brands and Models
Wacom is the go-to for pros—rock-solid pen tech and drivers. The Cintiq line is legendary, but pricey.
Huion gives you a lot for your money. Kamvas for pen displays, Inspiroy H640P for entry-level screenless options. Battery-free pens and customizable keys are standard.
XP-Pen is right there with Huion. The Deco 01 V3 and Artist13.3 Pro are solid picks. Specs are similar; it comes down to software and build feel.
Gaomon (M10K) and Ugee (M708) are for those watching their wallets. You lose a bit in polish and support, but they’re decent for learning or occasional use.
Maximizing Creative Potential with High-Precision Styluses
A pro digital stylus? It’s not just a “nice to have.” It can totally change your creative output. Advanced pressure sensitivity, snappy response, and ergonomic designs mean longer sessions with less hand strain.
These styluses turn tablets and touchscreens into real creative tools. You get traditional media feel, but with digital perks that speed up your workflow.
Stylus Types and Key Technologies
There are two main stylus types in the pro world: electromagnetic resonance (EMR) and active electrostatic (AES).
EMR styluses, like the Wacom Pro Pen 2, don’t need batteries. They draw power from the tablet itself, so there’s nothing to charge and the pen is lighter. That’s huge for long work sessions.
AES styluses—think Apple Pencil or Surface Slim Pen 2—do need charging, but they’re more widely compatible. Apple Pencil is super tight with iPad, and the Surface Slim Pen 2 even gives you haptic feedback to mimic paper. The S Pen adds Bluetooth tricks, like air gestures and remote control.
Battery-free pens are great for consistency and never dying mid-project. Powered styluses offer more features, but you have to remember to charge them. Wacom’s Pro Pen 2 is a favorite among artists for its balance of features and reliability.
Pressure Sensitivity Levels and Tilt Support
Pressure sensitivity is how well your stylus picks up on how hard you’re pressing. Entry-level is 1,024 levels, but the Wacom Pro Pen 2 gives you 8,192. That’s a lot of nuance for opacity, brush size, and texture.
The jump from 4,096 to 8,192 levels is most noticeable in detailed work. If you’re doing digital painting or illustration, that extra control really comes into play for gradients and line variation.
Tilt support is another layer. It lets the stylus sense the angle you’re holding it at—up to 60 degrees usually—so you can shade or change brush shape naturally, just like with real pencils or charcoal.
Pro styluses combine tilt and pressure at the same time. That means you can tweak stroke weight and shading angle on the fly, no need to mess with settings or swap tools.
Latency and Responsiveness
Latency is the lag between moving your stylus and seeing a response on screen. Pro styluses keep this under 10 milliseconds, making the experience feel immediate. The Apple Pencil is especially fast, clocking in around 9ms, and the Surface Slim Pen 2 is in the same ballpark.
High latency just kills the vibe. It makes you slow down and be more careful, which isn’t great for gesture drawing or quick sketches. For pros, sub-10ms latency is basically a must.
Keep in mind, device power, screen refresh rate, and how the stylus talks to your tablet all affect total latency. Double-check compatibility, because even the best stylus won’t feel right if your tablet can’t keep up.
Ergonomics and Workflow Integration
Stylus weight distribution, grip diameter, and button placement shape comfort during those long creative marathons. Most pro styluses land in the 15-20 gram range—enough heft to feel solid, but not so much that your hand aches by hour three.
The Wacom Pro Pen 2, for instance, comes with a few different grips to suit various hand sizes and preferences. I wish more companies did this, honestly.
Programmable buttons along the barrel? Absolute lifesavers. You can set them for undo, eyedropper, brush switching—whatever keeps your flow going.
These shortcuts mean less menu-diving and more time in the zone. It’s the little tweaks that help you stay focused on the canvas instead of hunting through software menus.
Stylus storage and charging have gotten smarter, too. Magnetic attachments, desk stands, and pen cases keep things tidy.
Apple’s Pencil sticks right to the iPad edge and charges wirelessly—pretty slick. Microsoft’s Surface Slim Pen 2 actually tucks into the keyboard, which is handy (unless you’re always losing your keyboard).
Wacom’s battery-free styluses don’t need charging at all, so there’s one less thing to worry about. That’s a relief if you’re the forgetful type.
Some artists coming from traditional media lean toward weighted, textured styluses—they just feel “right.” Digital natives, on the other hand, might go for lighter pens with fewer buttons.
Best advice? Try a few before you buy. Stylus comfort is so personal, and the wrong fit can really throw off your workflow.
The Role of Color-Calibrated Professional Monitors
Professional monitors with solid color calibration keep your artwork looking the same from brainstorm to final export. Consumer displays just can’t match that level of consistency, especially when it comes to representing color gamuts or holding calibration over time.
The ergonomic features of pro monitors also matter, especially if you’re glued to your screen all day.
Understanding Color Gamut: sRGB, Adobe RGB, and DCI-P3
Color gamut—basically, the colors your monitor can actually show. sRGB is the web standard, covering about 35% of visible colors.
Most consumer monitors hit 100% sRGB, which is fine if your work lives online. But if you’re printing or doing photography, you’ll want more.
Adobe RGB gives you about 50% more range than sRGB, especially in those tricky cyan-green tones. If you’re prepping files for print, 99% Adobe RGB coverage is the sweet spot.
Designers working with CMYK really need Adobe RGB support to see how things will look on paper. Otherwise, you’re just guessing.
DCI-P3 is the darling of video and film, covering about 25% more colors than sRGB—lots of punchy reds and greens. For HDR content, look for 95-98% DCI-P3.
Professional monitors list their color coverage in percentages. If you see 99% Adobe RGB and 98% DCI-P3, you’ve got a monitor that can handle just about anything.
Budget monitors? They’ll max out at 100% sRGB, which is limiting if you’re aiming for pro-level work.
Color Accuracy and Reproduction in Digital Art
Color accuracy is all about how close your monitor gets to the real thing. The Delta E metric measures this—under 2, and most people can’t spot any difference.
Pro monitors usually ship with calibration reports showing their Delta E scores. That’s a nice touch, though I sometimes wonder how many folks actually read them.
True 10-bit color depth means you get 1.07 billion colors instead of the 16.7 million from 8-bit panels. If you’re working with subtle gradients or color grading, this really matters.
8-bit displays with FRC can introduce banding, which is a pain. Hardware-based 10-bit processing avoids those artifacts.
IPS panels are the usual pick for color consistency across angles. OLED displays bring those insane black levels and contrast, but yeah—burn-in is still a thing if you leave static elements onscreen for hours.
Keeping your colors consistent means regular calibration. Some pro monitors have built-in sensors; others work with external colorimeters.
Hardware calibration updates the monitor’s own lookup tables, so you don’t lose color depth. Software calibration just tweaks your graphics card output, which can actually reduce the effective color depth.
Monitor Calibration and Display Settings
Calibration is about making sure what you see is what you get. It matches your monitor’s output to known standards by adjusting white point, gamma, luminance, and color channels.
If you’re serious about color, calibrate every 2-4 weeks. Screens drift over time, thanks to backlight aging and even temperature changes.
Hardware calibration stores profiles right in the monitor firmware. That means you get consistent color, no matter what computer you plug in.
Some models, like the Eizo ColorEdge CG319X, even have built-in sensors that handle calibration automatically. You can set it and forget it.
Key calibration settings:
- White point: D65 (6500K) for most work, D50 (5000K) for print matching
- Gamma: 2.2 for general use, 2.4 for video
- Luminance: 120 cd/m² for photos, 100 cd/m² for print
Software like Datacolor SpyderPro or Calibrite Display Pro HL works with external sensors and can handle super-bright HDR and OLED screens. The ICC profiles they generate help your apps stay color-accurate.
HDR support is becoming more common. VESA DisplayHDR 1000 means you get up to 1000 nits of brightness and local dimming—huge for realistic HDR grading.
Ergonomic Design and Adjustable Stands
Long sessions at your desk demand a monitor that actually works with you. Height adjustment (usually 100-150mm) lets you set the screen at eye level and avoid neck pain.
Tilt ranges of -5° to +20° help fight glare. It’s a small thing, but your eyes will thank you.
Pivot is underrated—flipping your monitor to portrait mode is great for vertical layouts or even code. Swivel (45° each way) is handy for showing your work to someone else, and IPS panels keep colors true at those angles.
Adjustable stand benefits:
| Feature | Range | Purpose |
|---|---|---|
| Height | 100-150mm | Eye-level alignment |
| Tilt | -5° to +20° | Glare reduction |
| Swivel | ±45° | Collaboration |
| Pivot | 90° | Portrait orientation |
VESA mounting support (usually 100x100mm or 200x200mm) lets you use monitor arms or multi-screen setups. Built-in stands are fine, but sometimes you just need more flexibility.
Cable management is often overlooked. Routing cables through the stand keeps your desk less chaotic.
USB-C with power delivery is a game changer—one cable for video, data, and charging (up to 90W). It’s especially nice if you’re bouncing between different workstations.
Optimizing Workflow Integration with Peripheral Ecosystems
Professional peripherals only shine when they fit smoothly into your existing setup. Compatibility, customization, and connectivity are the big factors—otherwise, new hardware can just gum up your process.
Software Compatibility and Ecosystem Selection
Your tablet and stylus need to play nice with your main creative software. Adobe Photoshop, Illustrator, and Fresco are the usual suspects, while Clip Studio Paint and Procreate have their loyalists.
Manufacturers like Wacom, Huion, and XP-Pen offer their own drivers to enable pressure sensitivity, tilt, and palm rejection. Their control panels let you tweak pressure curves and button assignments, either globally or per app.
If you’re switching between desktop and mobile, cross-platform support is essential. Some tablets remember your settings, so you don’t have to redo everything when you swap computers.
Programmable Shortcut and Express Keys
Express keys on tablets or styluses are a godsend. Assign them to undo, brush size, layer switching—whatever you use most.
Custom hot keys can be tailored for each project. Concept artists might set up rapid sketching tools, while photo editors prioritize retouching shortcuts.
Premium tablets sometimes add touch rings or dials for things like zoom or opacity. Once you get used to it, it’s hard to go back.
Profiles that auto-load per application are a nice touch. You can jump from Clip Studio Paint to Photoshop and keep your workflow smooth.
Connectivity Options for Multi-Device Setups
USB-C connections are fast, clean, and handle power plus 4K video in one go. If your laptop or desktop supports video-over-USB-C, you’re golden.
Bluetooth frees you from cables—great for presentations or working away from your desk. Most battery-powered pens last 40-80 hours, which is plenty for a week or two.
Latency is low (under 10ms), so you don’t really notice any lag. For most creative work, wireless is just as good as wired these days.
Some tablets let you connect to multiple devices at once, switching between them with a button. That’s a lifesaver if you maintain different workstations for illustration, editing, and 3D.
Transforming the Creative Workflow: Performance and Productivity Gains
Professional-grade peripherals can speed things up, boost precision, and take some of the physical strain out of creative work. They don’t just make things look fancier—they actually change how you work.
Accelerating Design Processes
Graphics tablets with 8,192+ pressure levels let you breeze through complex painting or retouching. You get the nuance without endless corrections.
Stylus precision means less time fixing mistakes. It’s a relief when your tools just “get” what you’re trying to do.
Color-calibrated monitors save time by showing accurate colors from the get-go. No more nasty surprises during client reviews or final exports.
A calibrated display ensures your colors look right everywhere, whether in print or onscreen.
High-polling-rate devices (1000Hz+) make cursor movement buttery smooth, especially when paired with fast processors like the M2. Lag stops being an issue, so you can focus on creating, not troubleshooting.
Enhancing Portfolio Quality
Pen displays with Adobe RGB or DCI-P3 coverage let you work confidently in pro color spaces. Your portfolio pieces look right, no matter where they’re viewed.
Clients and art directors can spot work made on pro displays—it just pops compared to stuff done on consumer monitors. It’s one of those “you know it when you see it” things.
Styluses with tilt and rotation sensitivity add dimension and realism to digital art. You can mimic traditional shading techniques, which gives your work a professional edge.
High-res tablets let you capture details you’d never get with a mouse. Pen input reduces error rates in precision tasks by 68% compared to a mouse, which is a pretty wild stat.
Reducing Physical Strain During Extended Sessions
Ergonomic pen grips and wireless styluses can do wonders for wrist strain, especially if you’re stuck in eight-hour production days. The way your hand naturally holds a pen just feels more, well, human compared to clamping onto a mouse.
This kind of positioning tends to cut down on those repetition-based injuries that digital artists dread.
Adjustable monitor arms are a game changer, too.
Color-accurate displays with flicker-free tech help keep your eyes from feeling like sandpaper after a long photo retouching session. Pro monitors usually offer hardware calibration to keep brightness steady, and they avoid that annoying PWM flickering.
Less eye strain means you can actually focus on your work, maybe even a bit longer than you’d expect.
Express keys on graphics tablets are another little ergonomic win. They keep you from constantly reaching for the keyboard, which can really ease up shoulder tension.
Programmable buttons put your favorite commands right under your thumb, so you’re not waving your arm around all day.
Audio interfaces with tactile controls bring similar comfort for multimedia folks who juggle sound in their workflow. Sometimes it’s the small things that make the biggest difference.