Working with just one monitor? You’re probably toggling between windows, losing track of what’s open, and breaking your flow more often than you’d like. Research shows that adding a second or third monitor can boost productivity by up to 42%, mainly because you spend less time hunting for the right window. The real game-changer is screen real estate—more visible workspace means less digital juggling and a better shot at staying focused.

But it’s not just about plugging in more screens and calling it a day. The real benefits come from picking the right setup for your needs—maybe that’s a dual monitor array, maybe it’s a triple setup, or just a single ultrawide.
Physical arrangement matters a lot. Monitor arms and stands let you position everything for comfort and efficiency. Display settings need tweaking too, so things look sharp and work as they should.
You’ll want to pay attention to hardware compatibility, cable choices, resolution, and window management. When it all comes together, your workspace can go from a bottleneck to a real productivity engine.
Key Takeaways
-
Multi-monitor setups cut down on window-switching and can speed up task completion by 18-42% compared to single screens.
-
Choose dual monitors, triple arrays, or ultrawides based on your specific workflow and desk space.
-
Good configuration means picking compatible hardware, adjusting resolution and scaling, positioning monitors ergonomically, and using window management tools.
Proven Productivity Gains of a Multi-Monitor Setup
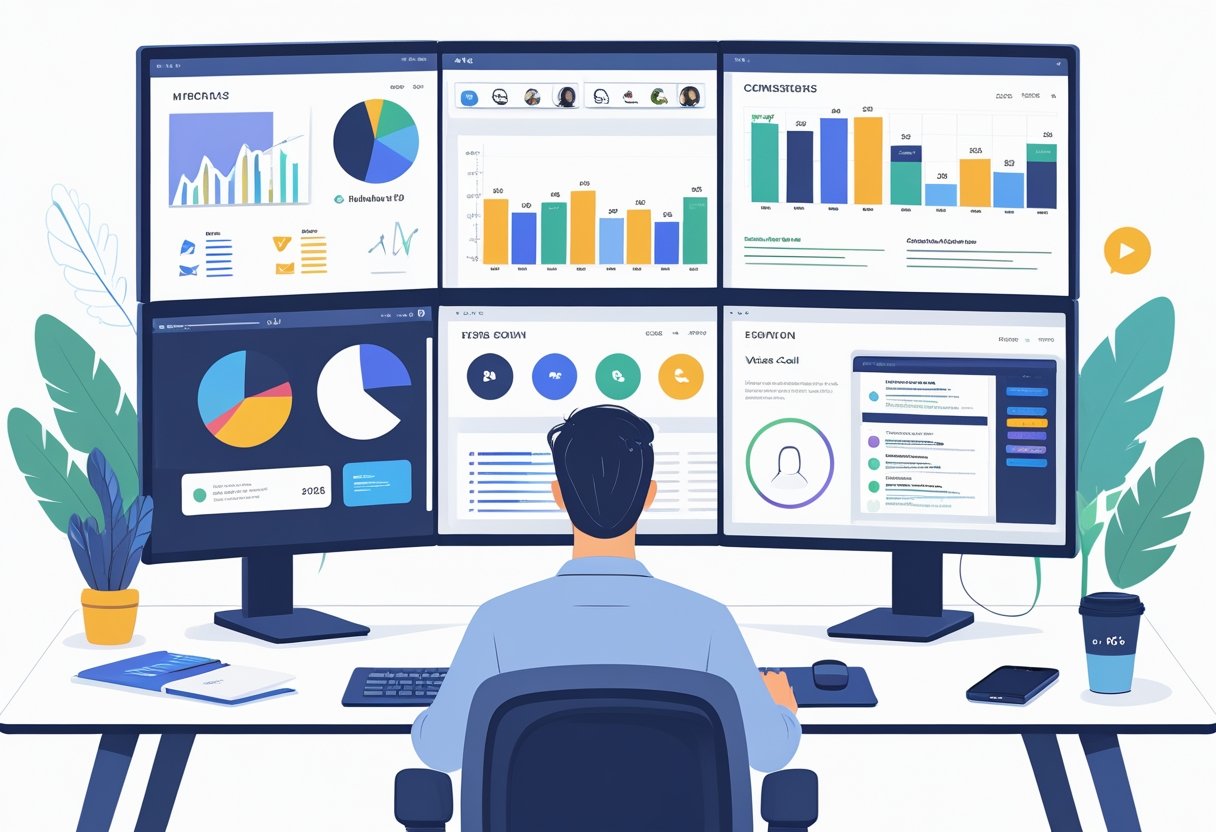
Multi-monitor setups really do deliver productivity improvements. By expanding your workspace, you cut down on window management and get to see more at once. Research keeps showing efficiency gains—anywhere from 18% to 42%, depending on what you’re doing and how you work.
The Impact of Screen Real Estate on Multitasking
More screen space changes everything about how you juggle apps and documents. With two or three monitors, you can keep reference material, messages, and your main work all visible, no stacking or hiding.
Studies say folks with dual monitors finish tasks 18-42% faster than those stuck on one screen. The more complex your work, the bigger the boost. Simple stuff? Maybe a 10% bump. But if you’re comparing data or referencing lots of documents, you could see a 50% improvement.
Having dedicated screens for different tasks just makes sense. Developers often keep code on one display, docs on another. Financial analysts? They’ll have real-time data feeds spread out. Writers and editors can keep source material handy while working.
Error rates go down too. Some studies suggest mistakes drop by about a third when you’re not constantly flipping between hidden windows.
Why Window Switching Drags Down Focus
Switching windows all day adds up. Every Alt+Tab or click interrupts your concentration, and getting back into the groove takes mental effort.
Dual-monitor users make about 15% fewer window switches than single-screen users. That’s hundreds of interruptions you’re avoiding every day, which means more energy for actual work.
Each switch isn’t just a click—it’s a mental reset. You have to remember what you were doing, find your place, and rebuild your train of thought. Keeping everything visible helps you skip all that.
Over a whole day, these small time savings add up. Minutes per hour become hours per month. Seems small, but it’s real.
Studies on Productivity and Multi-Screen Efficiency
The research is pretty clear: multi-monitor setups mean more efficiency. Studies keep finding that productivity jumps 18-42%, depending on your job and the tasks you tackle.
Jon Peddie Research found that two monitors save a lot of time on business tasks, and the more complex the work, the bigger the benefit.
| Task Type | Productivity Increase |
|---|---|
| Simple tasks | ~10% |
| Standard business tasks | 18-30% |
| Complex data work | 40-50% |
Dual monitor use has jumped 70% since 2002, which says a lot. But, you’ve got to set things up ergonomically—otherwise, the benefits can get canceled out by physical strain.
Choosing the Right Display Configuration for Your Workflow
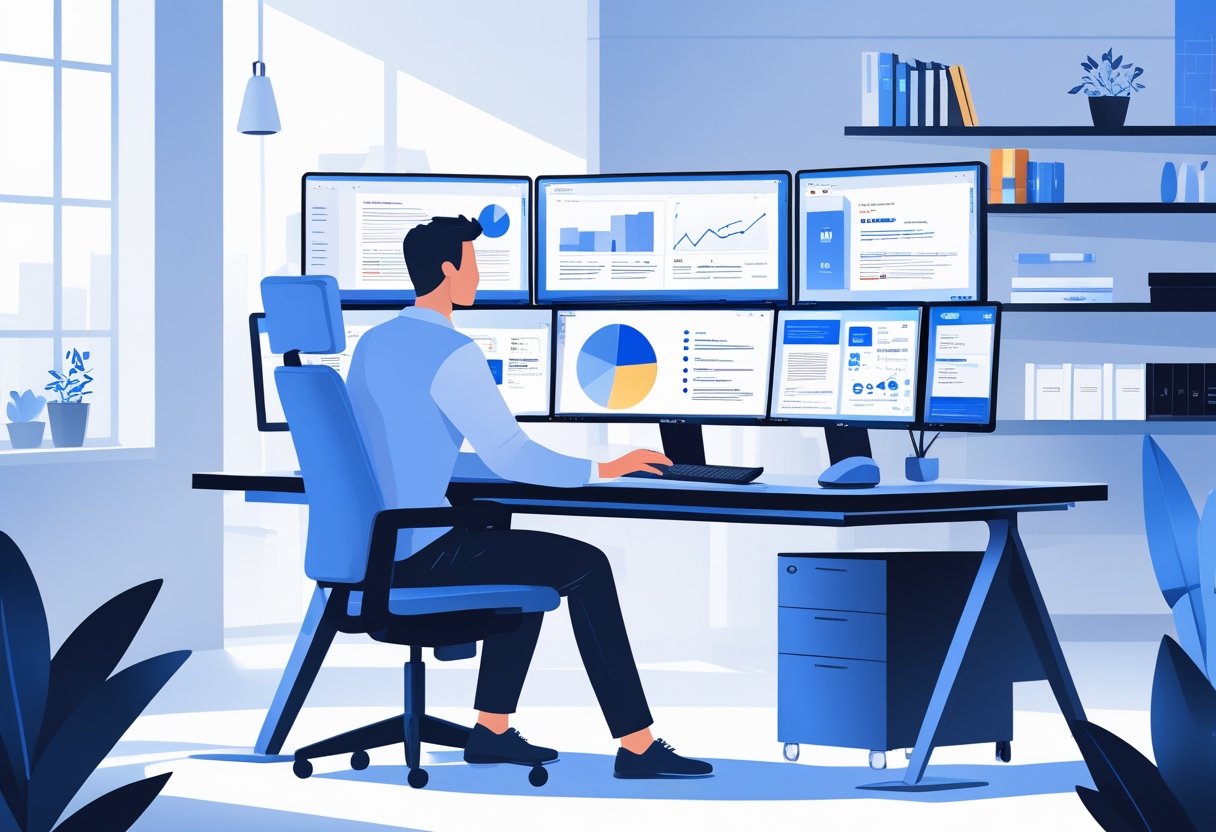
What’s the best setup? That really depends on your workflow, how much desk space you’ve got, and your budget. If you’re bouncing between apps, you’ll want a different layout than someone who just needs to immerse in a single task.
Dual Monitors vs. Triple Monitors
Dual monitors are the easiest way to level up your workspace. You keep your main work on one screen, and put reference stuff, chat, or dashboards on the other. It doesn’t take much desk space, and most graphics cards can handle it.
Triple monitors are great for certain jobs—think financial traders, video editors, or devs wrangling tons of code. You get a center screen for your main focus, with side monitors for everything else. No more window switching.
Downsides? More neck movement, and you’ve got to set things up carefully to avoid strain. Plus, your graphics card needs enough outputs and power to run three screens at once.
Ultrawide Displays: Advantages and Limitations
Ultrawide monitors (21:9 or 32:9) give you a ton of space in one big panel. No more bezels in the middle, and you get a smooth, continuous view—awesome for editing timelines or wide spreadsheets.
Modern operating systems let you snap windows into sections, so you can mimic having two or three screens. It’s cleaner, with fewer cables and less desk clutter.
But ultrawides aren’t perfect. Some games don’t support them well, and you might see black bars or weirdly stretched images. Curved screens can also distort colors at the edges—maybe not ideal for color-critical work. They’re pricey, too, especially compared to two regular monitors with the same resolution.
Selecting Monitor Sizes and Panel Types
Picking the right size comes down to desk depth and how far you sit. A 24-inch monitor works for desks about two feet deep, while 27-inch screens are better if you’ve got a bit more room.
Resolution matters for clarity and how much you can fit on screen. 1080p is fine for 24-inch monitors but looks grainy on bigger ones. 1440p is sharp and roomy for 27-32 inch screens. 4K is perfect if you work with detailed graphics or love having tons of windows open.
Panel types make a difference, too:
- IPS panels: Great color and wide viewing angles—perfect for design work.
- VA panels: Better blacks, higher contrast, usually cheaper.
- TN panels: Fastest response times for gaming, but colors aren’t as good.
Refresh rates matter mostly for gaming. If you’re just working, 60Hz is fine. Gamers might want 144Hz or more.
Hardware and Connectivity Essentials
Getting the right ports, cables, and power setup can make or break your multi-monitor plans. Your graphics card needs to handle the number of screens and the resolutions you want.
Ports and Cable Types: HDMI, DisplayPort, VGA, DVI
HDMI is everywhere. HDMI 2.0 handles 4K at 60Hz, and HDMI 2.1 goes up to 4K at 120Hz or even 8K. Most monitors and graphics cards have a few HDMI ports, so it’s usually the default.
DisplayPort is faster than HDMI. DisplayPort 1.4 can run 8K at 60Hz or daisy-chain multiple 4K screens. DisplayPort 2.0 is even more overkill. If you want high refresh rates or pro-level color, this is the way to go.
DVI is old-school but still around on some gear. It supports up to 2560×1600, but most new monitors have moved on.
VGA is basically ancient history—analog only, tops out at 1080p, and the signal gets fuzzy over long cables. Avoid it unless you’re connecting to some ancient relic.
Power Management and Surge Protection
Multiple monitors can pull a decent amount of power—think 20-50 watts each. Three screens could easily use 150 watts, so you’ll want to plan your outlets.
A surge protector with at least 1000 joules is a must to guard against power spikes. Some have switches for each outlet, which is handy if you want to turn off one monitor without unplugging it. Widely spaced outlets help if you’ve got chunky adapters.
Smart power strips can cut power to peripherals when your main device sleeps, saving on phantom power.
Graphics Card Requirements
Your graphics card needs enough outputs and muscle to drive all your screens. Entry-level cards usually handle two or three monitors. Mid-range and up can do four to six.
VRAM matters more as you add screens and bump up resolutions. Two 1080p monitors need at least 2GB, but three 4K displays? You’ll want 6GB or more.
Make sure your card can handle your chosen refresh rates and resolutions on all screens at once. Some cards can do 4K at 60Hz on one monitor, but might drop to 30Hz if you add more. Double-check specs before you buy.
Physical Setup: Stands, Arms, and Ergonomics
How you arrange your monitors makes a huge difference. The right stands and positioning can mean the difference between all-day comfort and a sore neck.
Monitor Stands and Arms for Optimal Positioning
Monitor arms beat fixed stands for flexibility. You can raise, tilt, or pull screens closer, depending on what you’re doing.
Articulating arms usually handle 4 to 20 pounds. Make sure your monitor supports VESA mounting—most do, with 75mm or 100mm patterns.
Clamp mounts work on desks up to three inches thick. Grommet mounts look cleaner but need a hole in your desk. Gas springs let you move monitors with a light touch.
A few things to look for:
- Weight capacity: Pick an arm that can handle your monitor’s weight, with a bit to spare.
- Cable management: Built-in channels keep things tidy.
- Range of motion: At least 180-degree rotation is nice.
- Base options: Clamp, grommet, or freestanding—pick what fits your space.
Fixed stands are cheaper but don’t offer much adjustment. They’re fine if your desk and chair are always at the same height.
Arranging Monitors for Comfort and Health
Your main monitor should be right in front of you, about an arm’s length away. The top of the screen should line up with your eyes, or just below.
Second monitors should be at the same height to avoid neck strain. If you mostly use one screen, keep it centered and angle the other in about 30-45 degrees.
If you use both screens equally, angle them both slightly toward you in a gentle arc. Keep the bezels close—an inch or two apart is plenty.
Keep your arms at 90 degrees while typing, feet flat, and use lumbar support if you can. Triple setups work best with the main screen centered and the others flanking it, maybe in a slight curve to cut down on head turning.
Reducing Eye Fatigue and Improving Posture
Screen brightness should roughly match whatever light you’ve got in the room. When your monitor’s near a window, you’ll probably need to tweak things during the day to fight off glare.
The 20-20-20 rule helps with eye strain: every 20 minutes, look at something 20 feet away for 20 seconds. Keeping your monitor about 20-40 inches from your eyes can help reduce focus fatigue.
Blue light filters after sunset might help your sleep schedule, though honestly, some folks barely notice the difference. Many monitors now come with low blue light modes that warm up the colors a bit.
Posture checklist for extended sessions:
-
Monitor top at eye level or just below
-
Screen about an arm’s length away
-
Shoulders relaxed, not all hunched up
-
Wrists straight when typing
-
Lower back supported (seriously, don’t skip this)
Height-adjustable desks let you swap between sitting and standing if you’re into that. Monitor arms should have enough range to follow you, so you’re not always fiddling with everything when you change positions.
Configuring and Customizing Display Settings
Getting your displays working together smoothly is a bit of an art. Matching resolutions, scaling, and layouts makes sure your cursor doesn’t go flying off in weird directions.
You’ll need to dive into each monitor’s settings, pick your main display, and tweak the taskbar so things don’t get messy. It’s a little fiddly, but the productivity boost is worth it.
Adjusting Resolution, Scaling, and Refresh Rate
Each monitor needs its own setup for the best visuals and smoothness. In Windows 10 or 11, right-click your desktop and hit “Display settings” to get started.
Resolution should match the native spec for each monitor. Click the numbered rectangles up top, then pick the recommended resolution. If you mix and match resolutions, it’ll work, but you might notice things look a bit off.
Scaling changes how big text and UI stuff appears, without messing with resolution. Windows offers scaling from 100% to 175%—you’ll find it under each monitor’s settings. If your monitors are different sizes, scaling them proportionally helps everything look about the same.
Refresh rate matters for how smooth things move on screen. Go to “Advanced display” in settings to adjust it. Gaming monitors often hit 120Hz or 144Hz, while regular ones are usually 60Hz. Each monitor can run at its own refresh rate, depending on what it supports and the cable you’re using.
Setting Primary and Secondary Monitors
The primary monitor gets the main taskbar, system tray, and usually new windows pop up there. Windows picks the first connected monitor as primary, but you can change it.
In display settings, click the monitor rectangle you want as your main, scroll down, and check “Make this my main display.” Usually, that’s the one right in front of you.
Secondary monitors just extend your desktop—no duplicate content. Arrange them in settings by dragging the numbered boxes to match how they’re actually sitting on your desk. If you don’t line them up, your mouse might get stuck or jump in weird places.
Personalizing Wallpapers and Taskbar Behavior
You can set different wallpapers for each monitor, or stretch one big image across all of them. In Windows 11, open your image folder, hold Shift to select a few, right-click the one you want on your main monitor, and pick “Set as desktop background.” Windows will handle the rest.
To span a wallpaper, right-click the desktop, go to “Personalization” → “Background,” pick your image, and select “Span” under fit options.
Taskbar customization keeps things tidy. By default, Windows copies the taskbar to every screen. Right-click the taskbar, hit “Taskbar settings,” and scroll to “Taskbar behaviors.” Under “When using multiple displays, show my taskbar apps on,” you get three choices:
- All taskbars – every monitor gets every icon
- Taskbar where window is open – icons only show up on the monitor running that app
- Main taskbar and taskbar where window is open – a mix of both
Managing Multi-Monitor Layouts in Windows 10 and 11
Windows has a bunch of shortcuts for juggling windows between screens. Win + Shift + Left/Right Arrow tosses the active window to another monitor. Win + Left/Right Arrow snaps it to half the screen.
Windows 11 adds Snap Layouts—just hover over the maximize button and you’ll see layout options. You can snap up to four windows per display, then set up similar layouts on your other screens.
Arrange your monitors in settings to match how they’re actually set up physically. If they’re side by side, line up the rectangles horizontally. You can drag them above, below, or next to each other. If the edges don’t touch in the settings, your mouse can’t cross there—kind of annoying if you get it wrong.
Windows usually remembers your setup and restores it when you plug your monitors back in. If you’re always switching between setups, third-party apps like DisplayFusion save profiles you can reload with a click.
Mastering Software Tools and Window Management
The right tools make multiple monitors feel like a true command center. PowerToys, DisplayFusion, and clever keyboard shortcuts take the pain out of window wrangling. Virtual desktops add extra layers for those who crave order.
Productivity Software: PowerToys, FancyZones, and DisplayFusion
PowerToys FancyZones lets you make custom window layouts for each monitor. Once you’ve got PowerToys installed, hold Shift while dragging a window to snap it into your zones—grids, columns, whatever works for you. It’s way more flexible than Windows’ built-in snap.
DisplayFusion goes further, adding monitor-specific taskbars, unique wallpapers, and saved window layouts. You can save your favorite app arrangement and bring it back instantly. It’s about $30, but you get features like monitor splitting—one big screen acting like two.
Both tools add titlebar buttons for quick moves between monitors or layouts. DisplayFusion can also dim unused screens, which is nice if you’re easily distracted. If you’re running three or more monitors, these tools save you tons of time otherwise spent dragging and resizing windows.
Keyboard Shortcuts and Hotkeys for Multi-Display Control
Win + Shift + Left/Right Arrow jumps the active window between monitors. Win + Left/Right Arrow snaps it to a side, and Win + Up maximizes it. Win + P cycles through display modes—extend, duplicate, or just one screen.
Learning just a few of these shortcuts saves you a ridiculous amount of mouse movement. Alt + Tab is still great for switching apps, but combining it with monitor shortcuts makes it even better.
PowerToys’ Keyboard Manager lets you create custom hotkeys. You can launch apps on a specific monitor or trigger a FancyZones layout. DisplayFusion does similar stuff—set hotkeys to move all windows, load saved layouts, you name it.
Leveraging Virtual Desktops and Custom Layouts
Virtual desktops give you more workspaces without more monitors. Win + Ctrl + D makes a new desktop, Win + Ctrl + Left/Right Arrow swaps between them, and Win + Ctrl + F4 closes the current one.
Most people set up virtual desktops by task: one for email, one for coding, another for research. Each desktop remembers its open apps, though window positions don’t always stick after a restart.
Custom layouts in FancyZones or DisplayFusion fix that. You can set exactly where apps should open on which monitor, then load that setup at startup or whenever you want. A developer might have their IDE on the main monitor, docs on the left, and terminals on the right—all ready with one hotkey.
| Feature | PowerToys FancyZones | DisplayFusion |
|---|---|---|
| Custom window zones | Yes | Yes |
| Monitor-specific taskbars | No | Yes |
| Saved window positions | Limited | Full profiles |
| Price | Free | $30 (one-time) |
| Titlebar buttons | No | Yes |
Honestly, these tools work best together. Many people run both: PowerToys for snapping windows, DisplayFusion for taskbars and layouts.
Best Practices for Task and Time Management on Multiple Monitors
Staying productive with multiple screens means having a plan. If you’re not careful, digital clutter can pile up fast—even with all that extra space.
Organizing Workflow to Minimize Distractions
It helps to give each monitor a job. The main display is for whatever you’re working on right now—writing, coding, designing. Side screens are perfect for reference stuff, chats, or dashboards.
Recommended Monitor Assignments:
| Monitor Position | Primary Use | Example Applications |
|---|---|---|
| Center/Main | Active work | Word processors, IDEs, design tools |
| Left/Right | Reference & communication | Documentation, Slack, email |
| Third screen | Monitoring & background | Analytics, system monitors, music |
Physical setup matters. Angle side monitors in about 20-30 degrees so you’re not craning your neck. Put your most-used apps right where your eyes naturally land.
Save window layouts with DisplayFusion or FancyZones so your apps always open where you want them. No more daily rearranging—just get to work.
Integrating Task Management and Productivity Techniques
The Pomodoro Technique fits nicely with multiple monitors. Keep a timer running on a side screen so you can see it without breaking your flow. Helps with focus, at least for some folks.
Task managers like Todoist, Trello, or Microsoft To Do also work better when they’re always visible. Stick them on a side monitor to check progress at a glance—no alt-tabbing needed. Less context switching means less time getting back on track (it really does add up).
Time Management Setup:
- Main screen: Whatever you’re working on right now
- Side screen: Task list or Pomodoro timer
- Bottom corner: Calendar with meetings coming up
Splitting your work into 25-minute bursts is easier when the timer’s always in view. Some people keep a tally of completed Pomodoro sessions to track how much they’ve actually done. It’s not for everyone, but might be worth a try.
Reducing Digital Clutter and Maintaining Focus
More screen space doesn’t automatically mean better focus. In fact, it can actually open the door to more distractions if you’re not careful.
Limiting open applications to just what you need for the current task keeps visual overwhelm at bay. There’s research suggesting that even windows you’re not using, if they’re visible, still eat up some of your attention.
Virtual desktops are a handy trick alongside physical monitors—they let you create project-specific spaces. On Windows, hit Win + Ctrl + D to spin up a new workspace—maybe one for deep work, another for Slack or Teams, and a third for research.
Switching between these desktops with Win + Ctrl + Arrow keys keeps related work grouped together. It’s a small thing, but it really helps keep your mind in one lane.
Managing notifications gets way more important when you have multiple displays. Turn off the non-essential stuff, and try routing important alerts to just one screen.
A lot of folks stick their chat apps on the least-visible monitor, only glancing over during natural breaks instead of jumping at every ping. That’s probably healthier, honestly.
Color-coded or distinct wallpapers for each monitor can help you instantly recognize which screen is for what. It might sound trivial, but these visual cues speed up navigation and cut down on the mental gymnastics of scanning three or four monitors.
Some people even set one monitor in portrait mode for reading long docs or code. It naturally separates that screen’s purpose from the landscape ones you use for editing or design.